This September was pretty intense for me. To celebrate Thomas’ birthday I prepared a little surprise and organized a weekend in Portugal. It was a rather nice way to say goodbye to summer and although there would still be some sunny days after that, I knew I would not be able to extend my holidays any longer.
Scooby had to be operated too and postoperative recovery took a little longer than we expected. Happily, though, everything went well and he has fully recovered now and is as happy and active as before.

Because we had to keep an eye on him and take turns so he wouldn’t be alone, I spent more time than usual at home. I had, therefore, the opportunity to try new autumn recipes. One of those recipes is the one I am about to explain now. I found it while looking for new recipes with ricotta.
Since I am a big fan of Italian cheese, you will find several recipes on this blog, both salty and sweet.
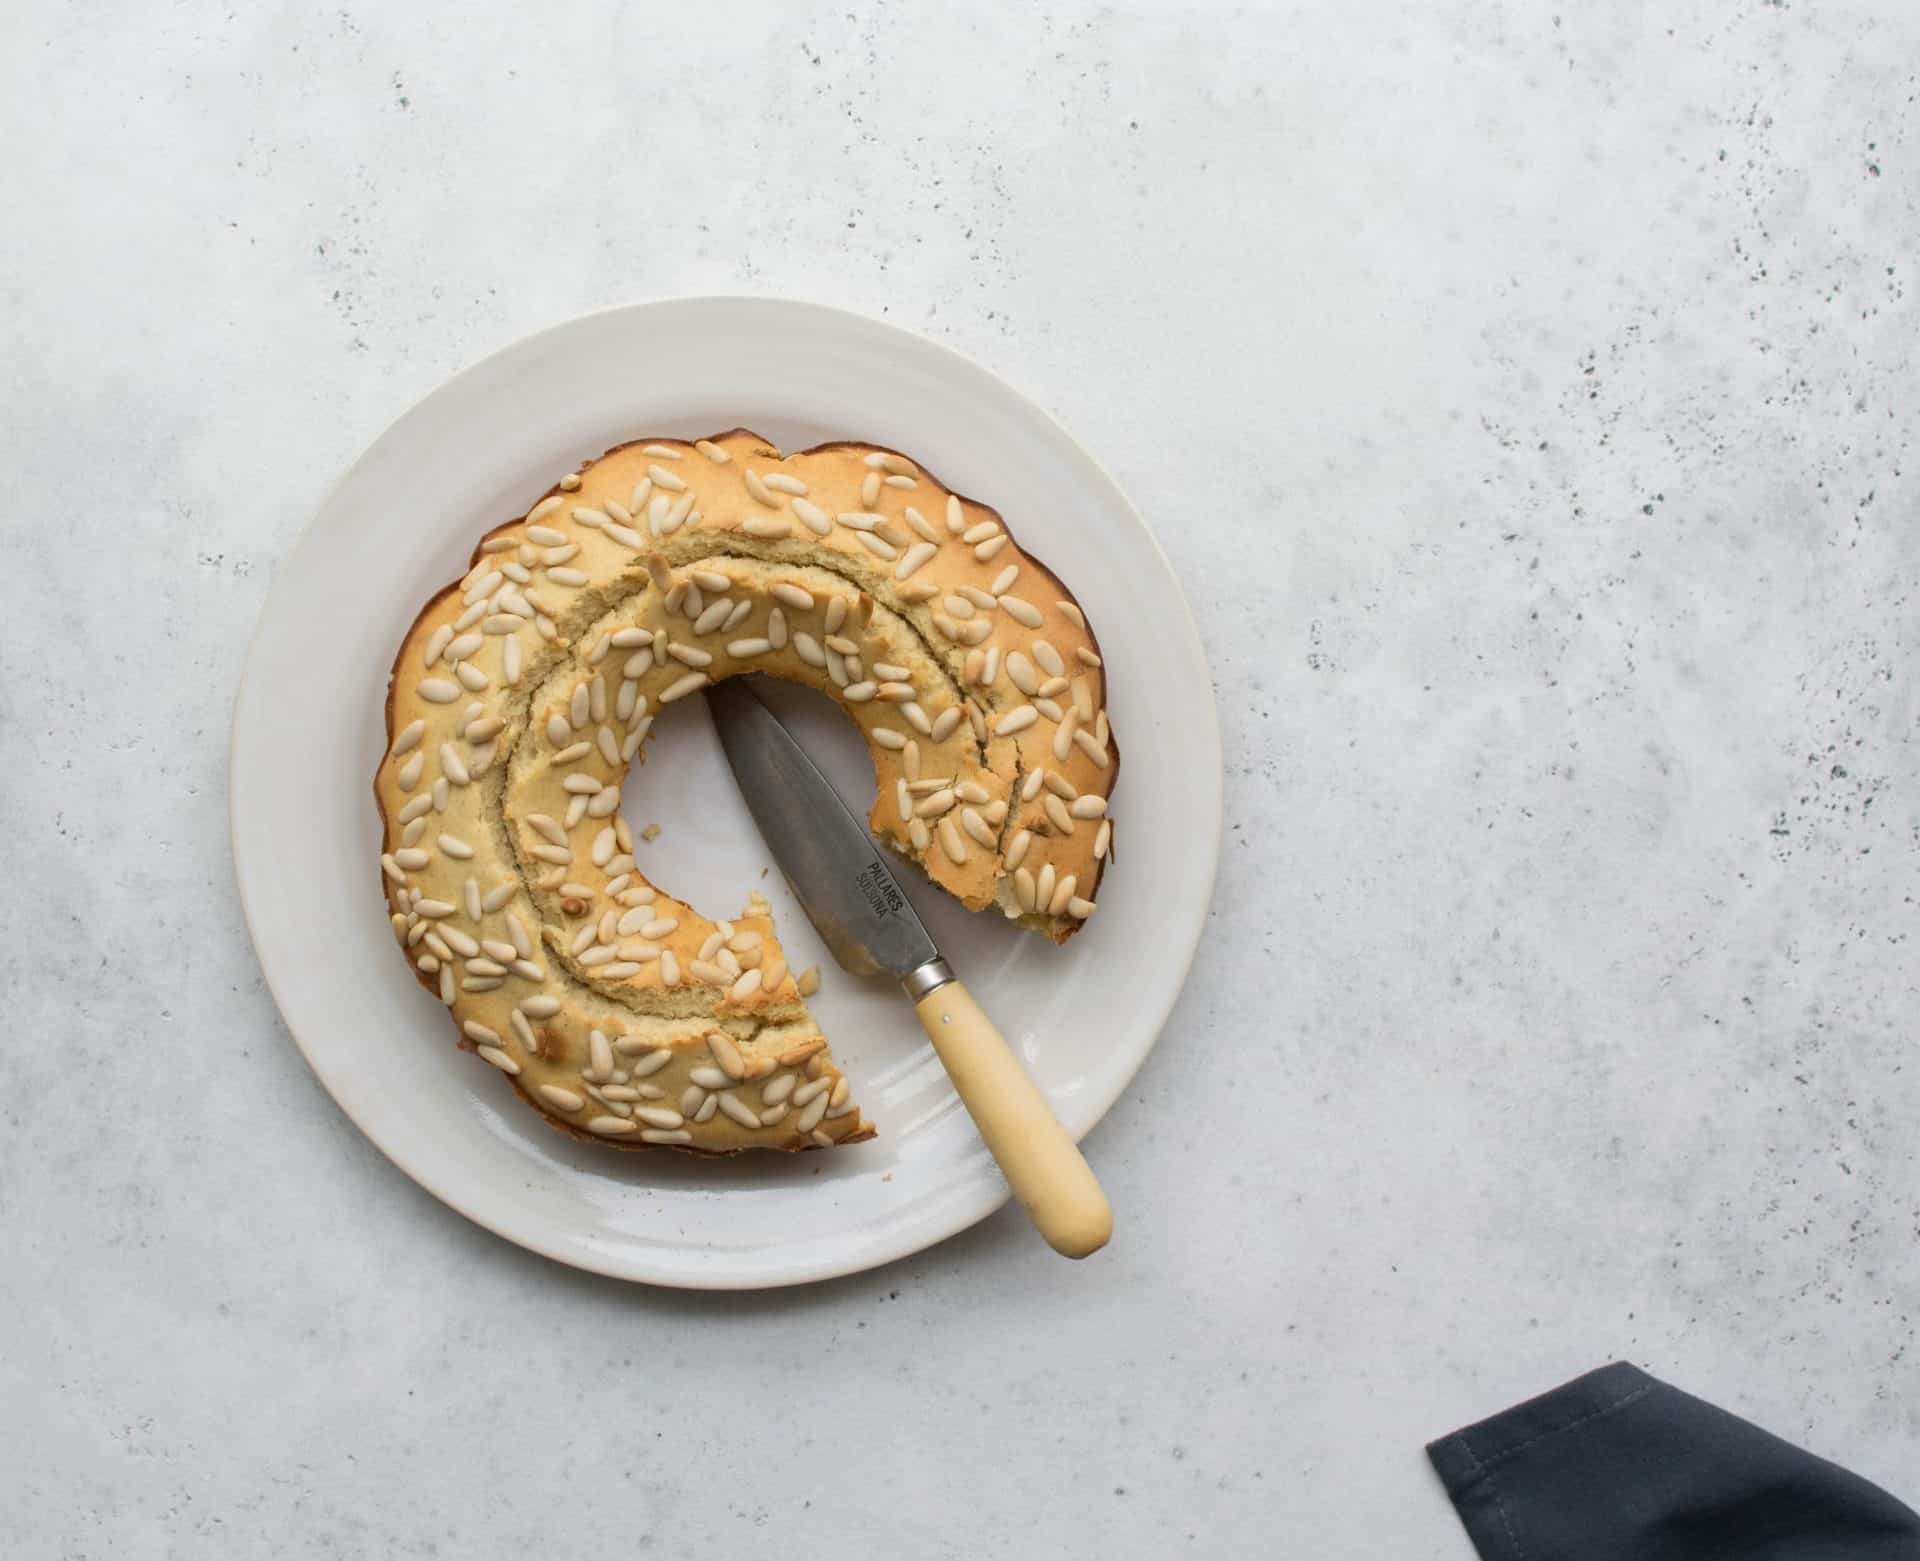
The truth is that I have been preparing one of my favorite cakes using ricotta for several years now. I usually accompany it with limoncello. This time, however, I wanted something I could have any day, not just on special occasions. Ricotta and baked pine nuts confer it a very unique taste. It’s one of my favorite recipes.

INGREDIENTS for a 26-cm diameter mould (10 inches)
300 gr (2 cups) all-purpose flour
250 gr (1 cup) cow ricotta
200 gr (1 cup) granulated white sugar
30 gr (¼ cup) pine nuts
3 eggs
1 cup of whole fat milk
2 tbsp baking powder
Half of a lemon peel
PREPARATION
Whisk eggs in a bowl with the sugar for about five minutes until the mix swells. Add the ricotta and mix well, until lumps disappear.
Now add the lemon peel and baking powder and continue mixing. Sift the flour and add it to the bowl, together with the milk. If you feel it’s too thick, just add a bit more milk. Pour the mix into a floured and buttered mould. Distribute the pine nuts over it and bake at 170ºC in a static oven for 25 minutes and then 10 minutes at 130ºC.
Buon appetito!
Photography & Stylism: Carlota Fariña
This recipe has been taken from @mumcakefrelis